Dummy Defense beginner guide
Build two Dummy towers on the first corner, take the free Sniper Dummy upgrade path next, and don't hoard cash — upgrading early pays for itself. Beat Noob mode, then Guest mode, then Noob Battalion; those three badges unlock Autoskip and the Ability system.
Dummy Defense drops you straight into the war: Noobs are already marching on your base, your wallet is nearly empty, and nothing gets explained twice. This guide covers your first hour — what to place, when to upgrade, and the unlock order that keeps you from wasting a week on the wrong modes.
The first match
Start in Team Noob. It is the calmest mode, the lobby votes it by default, and losing it costs you nothing — you still bank the Bricks.
- Head to one of the open build spots near a corner of the path. Corners make enemies walk through your fire for longer than straightaways do.
- Place two or three Dummy towers first — they are free to own and cheap to place ($200 each). Do not spread them thin across the whole map yet.
- Upgrade the tower that is actually shooting. A level-2 tower earns its price back within a couple of waves.
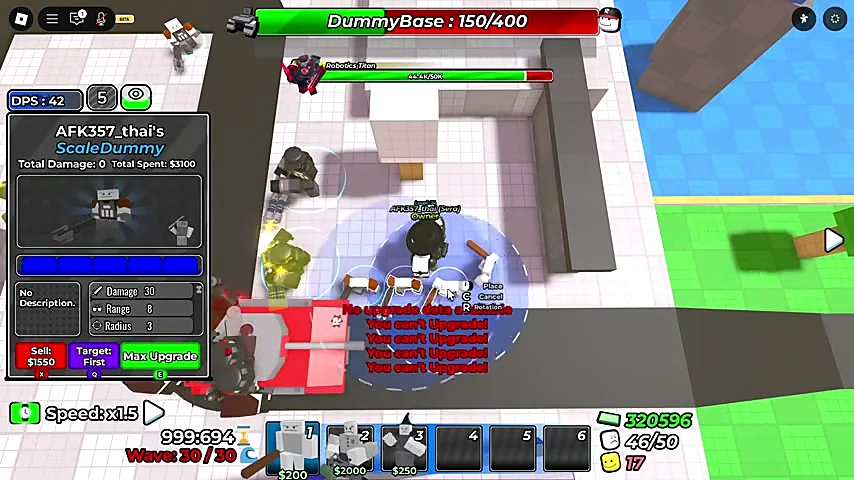
Your base is the win condition. The Dummy Base bar at the top of your screen is the health you are defending — when it empties, the run is over, so keep a couple of towers behind the front line.
Cash pays you for damage
Here is the mechanic that changes how you should play: you earn Cash from every point of damage you deal, not just from kills. Standing towers shooting into a tanky target still make money, and co-op splits the payout between players, so going quiet to "save money" is backwards — the loss is the time you spend not shooting.
Two habits follow from that:
- Upgrade instead of hoarding. Cash does nothing sitting in your balance. The upgrade prices on a full Dummy line top out around $2,700 total, which is cheap when the alternative is watching a lane leak.
- Match spend to wave size. If the next wave is a swarm, buy firepower now; if it is two fat enemies, thicken the towers already covering that lane.
The unlock route
Modes unlock each other, and the community wiki tracks the exact chain. The route the game pushes you through:
| Step | Clear this | What it turns on |
|---|---|---|
| 1 | Team Noob (easy) | Your baseline: this is where you learn build spots and cash flow |
| 2 | Team Guest (medium) | Autoskip — the wave-start vote becomes automatic, runs get much faster |
| 3 | Noob Battalion | The Ability system — airstrikes and defensive abilities open in the shop |
| 4 | Controller | 1.5x game speed and the right to buy Titan Scale Dummy |
| 5 | Operation Blackout | Access to buy the Blackout Rebels units |
Do them in this order. Skipping ahead to the flashy modes without Autoskip and Abilities just makes everything take longer.
First Bricks purchases
Bricks are the currency that survives between matches. Your first four digits are the most important decision of the account, so spend them in this order:
- BlockDummy — 750 Bricks (level 0). The cheapest real upgrade over the starter pair: extremely fast attack speed that shreds the early swarms.
- Business Dummy — 1,200 Bricks (level 0). It generates cash during runs. Every later purchase gets easier once this exists.
- Dummy Base — 2,500 Bricks (level 10). Your first heavyweight: massive health, huge damage potential, and it gets a Cost Efficiency line in the wiki for a reason.
- Mortar ScaleDummy — 3,000 Bricks (level 15) or Large ScaleDummy — 5,000 Bricks (level 15) once splash damage matters to you.
Everything on that list also needs your commander level at or above its gate — levels come from simply playing matches, so if a tower looks locked, check the level requirement before grinding for the Bricks.
Related pages
- Best towers — the tier list once you can afford choices
- Bricks & Cash — every earning trick, in one place
- Gamemodes — full unlock steps for the hidden modes